Raise your hand if you’ve ever needed to send a time-sensitive text, but didn’t want to set a janky alarm or trust your scatterbrained self to remember? Maybe it was a birthday wish for that buddy in a different time zone or a party reminder for your notoriously flaky crew.
Whatever the reason, scheduled messaging has been a glaring omission from Apple’s arsenal. Until now. With iOS 18, the cool kids in Cupertino are finally letting you schedule iMessages to go out on your chosen date and time.
No more mental gymnastics or sending messages at weirdly specific times because you suck at math. This new superpower puts you in total control of when your words hit the digital airwaves.
And since I’m a benevolent soul who loves maximizing efficiency, I’m going to break down exactly how to schedule texts in iOS 18. The steps are stupid simple, but you know I’ve got to hold your hand through this anyway.
Must Read: How To Sign Up For iOS 18 Beta
How To Schedule iMessages in iOS 18
1) Fire up the Messages app and load the conversation you want to schedule for (or start a new one).
2) Type out your steamy prose like you normally would.
3) Now here’s the magic – tap that “+” icon and select “More” from the menu.
4) Pick the “Send Later” option that appears.
5) Use the time and date selector to choose your scheduled send. Slick, right?

6) Once you’ve locked in the deets, smash that upward arrow send button to schedule your message.

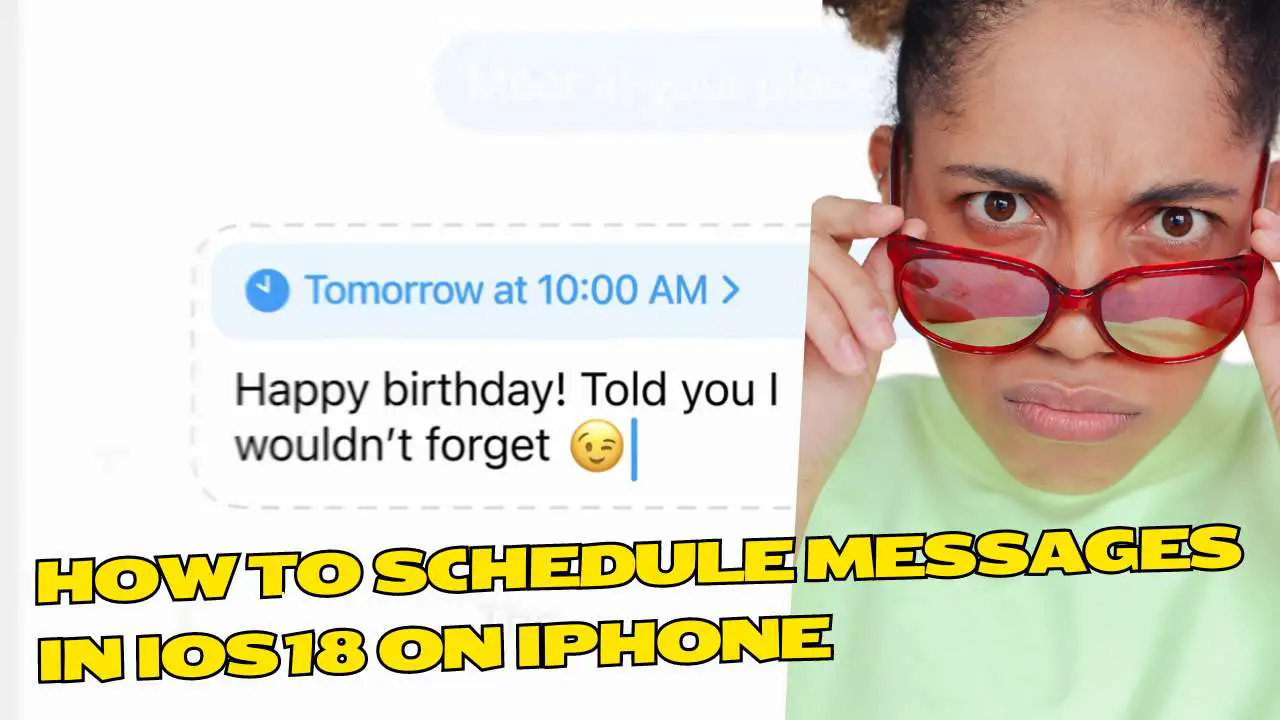
7) You’ll see your scheduled message chillin’ on the screen with a handy “Send Later” tag listing the date and time.

If you’re a dingus who second guesses everything, no worries! Just tap “Edit” to tweak the send time or delete the whole shebang if you flake out.
Bonus Tip: Schedule Texts With the Shortcuts App
For you super nerds who live and breathe iOS automation, you can also schedule messages using the Shortcuts app. Here’s the rundown:
1) Open Shortcuts and hop into the “Automation” tab.
2) Tap “Create Personal Automation” and pick “Time of Day”
3) Tap the blue “Message” icon and compose your text
4) Select your recipient(s)
5) Pick a time and date, then save that bad boy!
Boom. Your hyper-personalized, time-triggered texts will now fire off without you having to lift a finger. You can even set a notification to confirm when it’s sent, so you know your scheduling sorcery worked its magic.
The Key Takeaway:
iOS 18’s new scheduled messaging features are absolute game-changers for anyone tired of creating intricate workarounds to send a text later. Whether you’re rocking the native iMessage scheduler or getting fancy with Shortcuts, your days of manually sending time-sensitive messages are over.
Stay scheduled, my friends!

