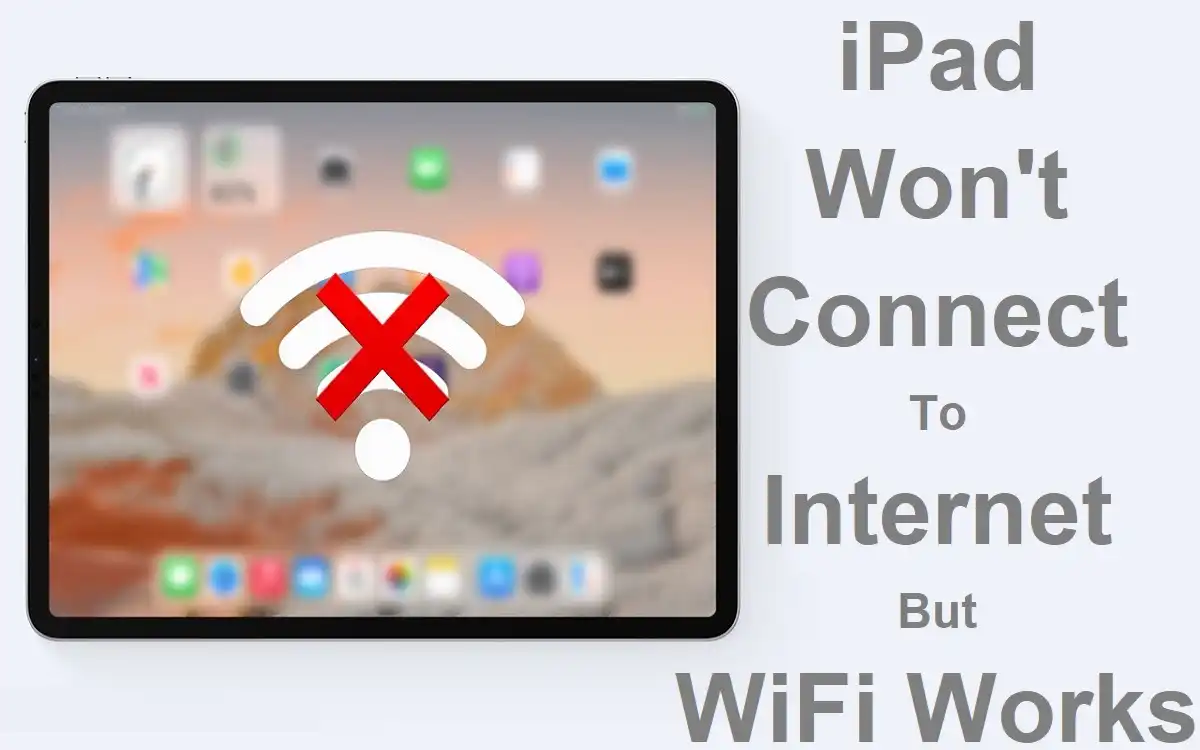
In our increasingly connected world, encountering internet connectivity issues can be frustrating, especially when your device shows it’s connected to WiFi but can’t access the internet. This problem is particularly common among iPad users, who may find themselves in a perplexing situation where their device indicates a WiFi connection, yet they can’t browse the web or use online apps. If you’re facing this dilemma, don’t worry – you’re not alone, and there are several steps you can take to resolve the issue.
In this comprehensive guide, we’ll walk you through the potential causes of this problem and provide you with a series of troubleshooting steps to get your iPad back online. Whether you’re a tech novice or a seasoned user, these solutions are designed to be easy to follow and effective in resolving your connectivity woes.
Recent Released: How To Download MB Whatsapp iOS 9.12 1
How to Understand the Problem
Before we dive into the solutions, it’s important to understand what’s happening when your iPad shows a WiFi connection but can’t access the internet. This situation typically indicates that your iPad has successfully connected to your local network (router) but is unable to establish a connection to the wider internet. This can be due to various factors, including:
- Issues with your iPad’s settings
- Problems with your router or modem
- Conflicts with your internet service provider (ISP)
- Software glitches or outdated systems
By systematically addressing each of these potential causes, we can pinpoint the source of the problem and get your iPad back online.
Basic Checks: First Steps in Troubleshoot
Before we delve into more advanced solutions, let’s start with some basic checks that can often resolve the issue quickly:
Verify WiFi Connection
First, ensure that your iPad is indeed connected to the correct WiFi network. Sometimes, devices can automatically connect to nearby networks that may not have internet access.
How to check:
Step#1.Go to Settings on your iPad
Step#2.Tap on WiFi
Step#3.Look for your network name in the list
Step#4.Ensure it has a blue checkmark next to it, indicating it’s connected
If you’re not connected to the right network, simply tap on your network name and enter the password if prompted.
Test Internet Access on Other Devices
If your iPad is the only device experiencing issues, the problem likely lies with the iPad itself. However, if other devices on the same network also can’t access the internet, the issue may be with your router, modem, or ISP.
Quick test: Try connecting to the internet using another device, such as a smartphone or laptop, on the same WiFi network. If they can’t connect either, you may need to troubleshoot your router or contact your ISP.
Advanced Troubleshoot: Step-by-Step Solutions
If the basic checks didn’t resolve your issue, don’t worry. We have a series of more advanced troubleshooting steps that can help identify and fix the problem.
How to Restart Your iPad
A simple restart can often resolve many connectivity issues by clearing temporary glitches in the system.
How to restart your iPad:
Step#1.Press and hold the top button until the power off slider appears
Step#2.Drag the slider to turn off your iPad
Step#3.Wait for about 30 seconds
Step#4.Press and hold the top button again until you see the Apple logo
How to Restart Your Router and Modem
Sometimes, the issue lies not with your iPad but with your internet equipment. Restarting your router and modem can refresh your connection and resolve many connectivity problems.
Steps to restart your router and modem:
Step#1.Unplug both your router and modem from the power source
Step#2.Wait for about 30 seconds
Step#3.Plug in your modem and wait for it to fully restart (usually indicated by steady lights)
Step#4.Plug in your router and wait for it to fully restart
Step#5.Try connecting your iPad to the internet again
Forget and Reconnect to WiFi
If restarting didn’t work, the next step is to forget the WiFi network on your iPad and then reconnect. This process can help resolve any authentication issues between your iPad and the router.
How to forget and reconnect to WiFi:
Step#1.Go to Settings > WiFi
Step#2.Tap the information icon (i) next to your network name
Step#3.Select “Forget This Network”
Step#4.Confirm by tapping “Forget”
Step#5.Wait a few seconds, then select your network again from the list
Step#6.Enter the password and reconnect
Reset Network Set
If you’re still experiencing issues, resetting your network settings can often resolve persistent connectivity problems. Keep in mind that this will erase all saved WiFi networks and passwords, so you’ll need to reconnect to your networks afterward.
Steps to reset network settings:
Step#1.Go to Settings > General > Transfer or Reset iPad
Step#2.Tap on “Reset”
Step#3.Select “Reset Network Settings”
Step#4.Enter your passcode if prompted
Step#5.Confirm by tapping “Reset Network Settings”
After the reset, reconnect to your WiFi network and test your internet connection.
Disable Private WiFi Address
Some routers may have issues with the Private WiFi Address feature, which uses a different MAC address for each network to enhance privacy. Disabling this feature can sometimes resolve connectivity issues.
How to disable Private WiFi Address:
Step#1.Go to Settings > WiFi
Step#2.Tap the information icon (i) next to your network name
Step#3.Toggle off “Private WiFi Address”
Step#4.Reconnect to the network if prompted
Check Date and Time Sets
Incorrect date and time settings can sometimes interfere with internet connectivity, especially for secure websites.
How to check and adjust date and time sets
Step#1.Go to Settings > General > Date & Time
Step#2.Enable “Set Automatically”
Step#3.If it’s already on, toggle it off and on again
Update Router Firmware
Outdated router firmware can sometimes cause connectivity issues. Updating your router’s firmware can resolve these problems and improve overall performance.
General steps to update router firmware:
Step#1.Open a web browser on a device connected to your network
Step#2.Enter your router’s IP address (often 192.168.0.1 or 192.168.1.1)
Step#3.Log in with your router’s admin credentials
Step#4.Look for a firmware update option (this varies by router model)
Step#5.If an update is available, follow the prompts to install it
Note: The exact steps may vary depending on your router model. Consult your router’s manual or manufacturer’s website for specific instructions.
Useful Table: Troubleshoot Steps Summary
Here’s a quick reference table summarizing the troubleshooting steps we’ve covered:
| Step | Description | Difficulty | Time Required |
| Verify WiFi Connection | Check if iPad is connected to the correct network | Easy | 1-2 minutes |
| Test Other Devices | Check if other devices can access internet on same network | Easy | 2-3 minutes |
| Restart iPad | Turn off and on your iPad | Easy | 2-3 minutes |
| Restart Router/Modem | Power cycle your internet equipment | Easy | 5-10 minutes |
| Forget/Reconnect WiFi | Remove and re-add WiFi network on iPad | Moderate | 3-5 minutes |
| Reset Network Settings | Clear all network settings on iPad | Moderate | 5-10 minutes |
| Disable Private WiFi Address | Turn off privacy feature for specific network | Moderate | 2-3 minutes |
| Check Date/Time Settings | Ensure iPad has correct date and time | Easy | 1-2 minutes |
| Update Router Firmware | Install latest firmware on your router | Advanced | 10-20 minutes |
When to Seek Further Assistance
If you’ve tried all the steps above and your iPad still won’t connect to the internet despite showing a WiFi connection, it may be time to seek additional help. Consider the following options:
- Contact Your Internet Service Provider (ISP): If multiple devices are having issues, there might be a problem with your internet service. Your ISP can run diagnostics and check for outages in your area.
- Consult Apple Support: If the problem seems specific to your iPad, Apple’s support team can provide further assistance. They may be able to run remote diagnostics or advise if your device needs service.
- Visit an Apple Store or Authorized Service Provider: If you suspect a hardware issue, or if software troubleshooting hasn’t resolved the problem, it might be time for a hands-on inspection by a professional.
Prevent Future Connectivity Issues
While it’s impossible to completely prevent all connectivity issues, there are steps you can take to minimize their occurrence:
- Keep Your iPad Updated: Regularly update your iPad’s operating system to ensure you have the latest bug fixes and security patches.
- Maintain Your Router: Periodically check for and install router firmware updates. Also, consider resetting your router every few months to keep it running smoothly.
- Use a Reliable VPN: If you frequently connect to public WiFi networks, using a VPN can help protect your connection and potentially prevent some connectivity issues.
- Monitor Your Network: Be aware of how many devices are connected to your network. Too many connections can slow down or disrupt your internet service.
- Regular Maintenance: Perform some of the troubleshooting steps (like restarting your iPad and router) on a regular basis, even when you’re not experiencing issues, to keep your devices running smoothly.
Conclusion
Experiencing internet connectivity issues on your iPad can be frustrating, especially when your device shows it’s connected to WiFi. However, by following the troubleshooting steps outlined in this guide, you should be able to resolve most connectivity problems.
Remember to start with the basic checks and work your way through the more advanced solutions. Often, simple steps like restarting your device or router can solve the issue. If you continue to experience problems after trying all these steps, don’t hesitate to reach out to your ISP or Apple Support for further assistance.
By understanding these troubleshooting techniques and implementing preventive measures, you can ensure a smoother, more reliable internet experience on your iPad. Stay connected, stay productive, and enjoy all that your iPad and the internet have to offer!

